The Antsig WiFi Extender provides three functions that include access points, universal repeaters, and wireless routers. You can install the Antsig extender into the homes or the small office and get a breakthrough connection into all the corners of the house. However, the range extender provides visible signal strength as it helps to assist in the setup of the device. Moreover, its quick-connect option by using the WPS button makes the connection with the internet process easier and more effective. You can connect the wireless range extender to the home network. Get an expanded wifi connection to any dead spots at the home.
As you know, the Antsig wifi range extender setup provides three major functions. Which the access point uses to connect to the device via Ethernet cable. The repeater mode in which it allows the expansion of the wifi signal with a wireless connection. The wireless router mode in which it can directly connect to the modem or the router. It also allows you to control other wireless devices.
Antsig WiFi Extender and its Installation Requirements
The Antsig WiFi Extender is a great way to improve the reach of internet access and it is affordable as well. It is not right to say that the wireless range extender is the best solution for every problem. But it is the ideal solution to extend the network coverage into your house. After the complete installation, you need not worry about the dead or the weak spots. As it can eliminate all the dead zones that create too much noise into the connection. Here you get the installation tips for the Antsig device that you want to install to get seamless network coverage.
Unfolding the wifi’s antenna and assembling the reflector
So first of all, you need to unfold the range extender antenna by grasping the folded element at the back of the antenna and its close to the pivot point. Therefore, you can rotate it to the outward position or until it locates in its firm place. After that, you can repeat these steps on the bottom side of the device. Also towards the front device until all the components are placed successfully.
Once the antennas are placed then simply remove the selector into the HCF. Now use the two screws and the nuts to install the device. After that, you need to locate the mounting brackets to the top of the antenna. Therefore, simply fix the reflectors to the mountain brackets on the top side of the antenna. Now ensure that the elements of the antenna face towards the front of the antenna. Then mount the other reflector by assembling it into the mounting brackets. Make sure that it is in between the mounting brackets.
After that tighten the nuts and then attach them to the mounting brackets and fix it clockwise with the two mounting brackets and hold the antenna to assemble the reflector tightly. However, tighten the screws and the brackets by holding the two HCF reflectors that you assemble tightly. After that mounting, the antenna sets its position, direction, and Polarisation. After that cable the antenna and complete its final installation by using the masthead amplifier or the distribution amplifier.
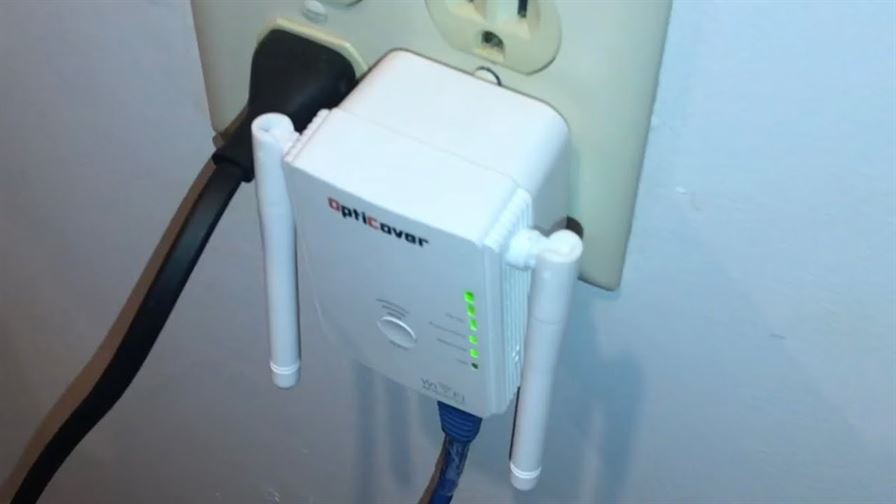
Antsig wireless range extender setup
Use the ap.setup wavlink login to set up the Antig range extender. However, use the default IP address if the web URL does not access the login page. But first, of all, make sure to connect the range extender to the wireless connection or by using an ethernet cable. Some of the wireless routers enable the setup process by using the ap.setup. It helps to increase the wireless coverage. And the Antsig is one that uses the same URL to extend the wifi coverage into the house.
To begin, plug the range extender into the wall socket and then wait for the LED to get stable. Then choose the wifi option with a network name. Once the range extender is successfully connected. Then open the web browser and type the IP address or the Web URL of the Antsig device. Now a log-in page appears on the web screen in which you have to enter the details. Such as surname and the password. Well, both the details are admin as default. As soon as you log in to the device. The page will ask you to choose the method for the setup of the device.
Once the method is selected then it will show you the list of the available wifi networks. Then you need to choose the preferred wifi network name. Then you are ready to access the internet connection. Read more from here.
Suggestion for you: What is Free Cam and How to Use Free Cam?